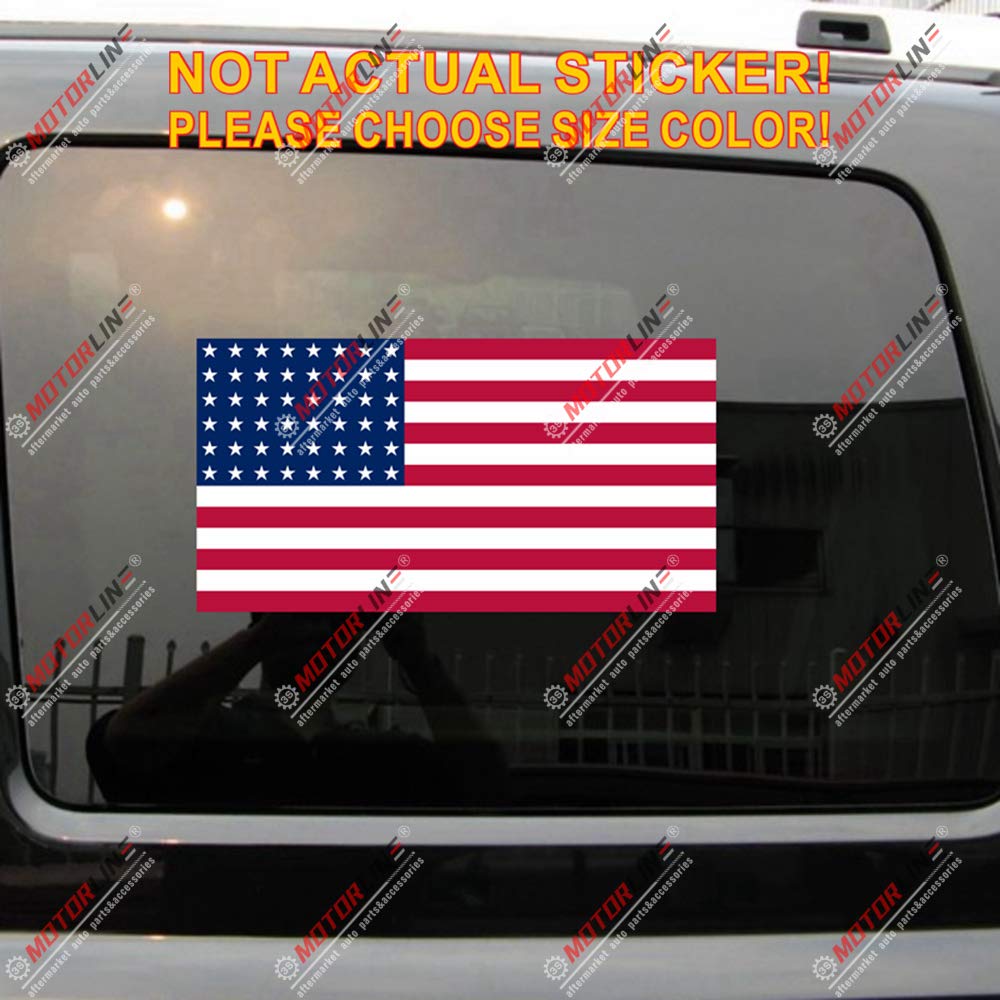
Multiple sizes & finishes (Reflective or Glossy) for most productsare available—images are for reference and may not show every variation; order by the size/finish in your selected option; size refers to the longer border. Printed on high-grade 3M vinyl with a thick, clear laminate film for enhanced protection. Waterproof, fade-resistant, and UV-resistant, offering excellent weatherability and long-term durability. For exterior surfaces only. Not suitable for interior windows, as the adhesive is on the back side of the sticker and the front design has no adhesive. Crafted using premium Japanese Mimaki Eco-Solvent ink for vivid color and long-lasting performance. Certified by UL GREENGUARD Gold, ensuring safe, low-emission production and environmentally friendly standards. Pressure-sensitive self-adhesive backing. The sticker and adhesive can be removed together cleanly after years, without leaving residue. Peel and stick — it comes with a low-tack transfer tape that makes it easy to position the sticker and remove the tape after application. Perfect for windows, bumpers, tailgates, doors, hoods, trunks, and body panels of cars, trucks, SUVs, vans, pickups, and RVs, as well as for motorcycles, bikes, helmets, scooters, ATVs, boats, and other autos or vehicles. Also suitable for tablets, laptops, gaming consoles, headphones, phone case backs, skateboards, guitars, luggage, toolboxes, bottles, doors, windows, furniture, and other flat or slightly curved surfaces, such as metal or glass. [INSTRUCTION]: 1. Locate and clean. Find and confirm where to place your sticker. Clean the surface and make sure it’s completely dry. 2. Expose the transfer tape head. Use the easy-pull tab ①, at the narrow border, peel back a small rectangular section at the front edge of the backing liner to expose the adhesive. Only peel that front section; avoid exposing too much sticker layer. 3. Lock the position. Press the exposed head part of the transfer tape onto the surface so the transfer tape holds the sticker in place. 4. Peel while applying.Slowly pull the bottom backing liner while smoothing the sticker down at the same time; apply gradually until fully adhered. 5. Rub for full adhesion.Use a squeegee to rub the entire sticker, especially on any thin parts, to make sure every area sticks down firmly. 6. Remove the transfer tape. Gently peel off and fully remove the transfer tape at a low angle (use easy-pull tab ②). You may press down on the sticker as you go to prevent lifting the sticker layer. Enjoy it!
